
Are you looking for a way to spruce up your living space without breaking the bank? You’ve come to the right place! This post is here to show you how to create stunning wall art using something you probably have lying around—cardboard. I put this guide together because I believe that home decor should be both beautiful and budget-friendly. Plus, creating your own decorations can be a rewarding experience.
If you’re someone who loves DIY projects or cares about sustainability, this guide will resonate with you. You might be a student decorating your dorm, a family looking to engage kids in crafts, or a homeowner wanting to add a personal touch to your space. Whatever your situation, you’ll find ideas that are not just eco-friendly but also incredibly creative.
In this post, you’ll discover 17 unique cardboard wall art ideas that are imaginative and easy to implement. From geometric wonders to whimsical wall hangings, there’s something here for everyone. You’ll learn how to transform simple cardboard into handmade decorations that elevate your room decor. Get ready to unleash your creativity, save some cash, and make your home feel a little more like you!
With each idea accompanied by beautiful images, you’ll have all the inspiration you need to start your next DIY home project. Whether you’re after something simple or a bit more intricate, this guide has it all. So, grab your scissors and glue—let’s turn that cardboard into creative room decor!
Key Takeaways
– Discover 17 creative ideas for cardboard wall art that are easy to make and eco-friendly.
– Explore themes like geometric shapes and nature-inspired designs to personalize your space.
– Learn how to use everyday cardboard to create unique, handmade decorations.
– Get inspired with images that illustrate each project, making it easy to follow along.
– Enjoy a fun DIY project that not only beautifies your home but also promotes sustainability.
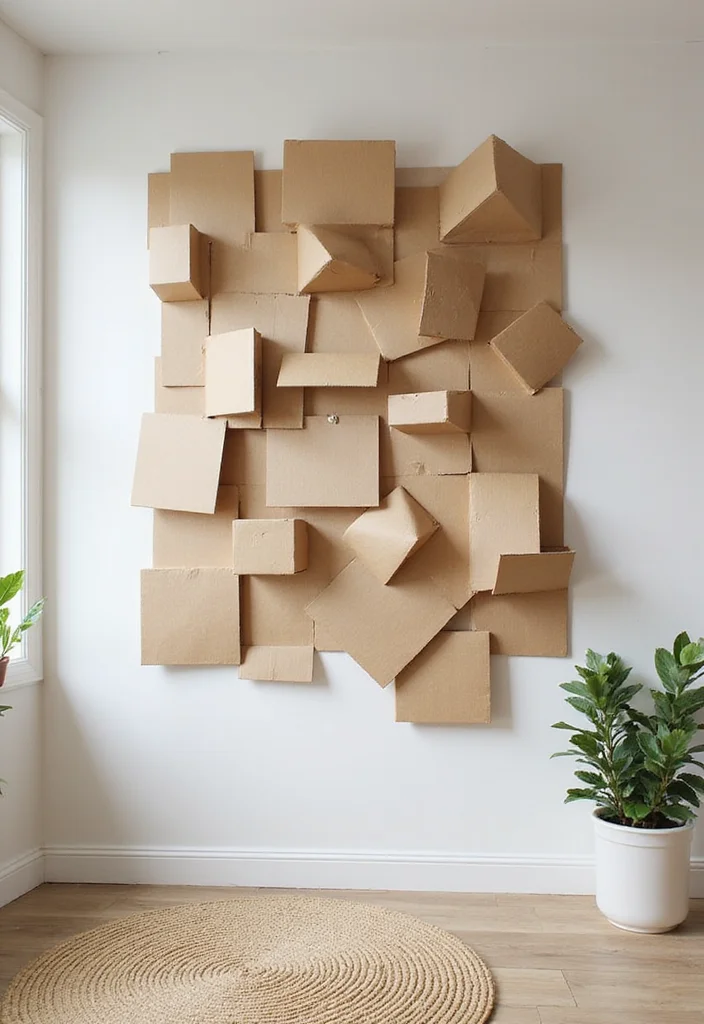
1. Geometric Wonders
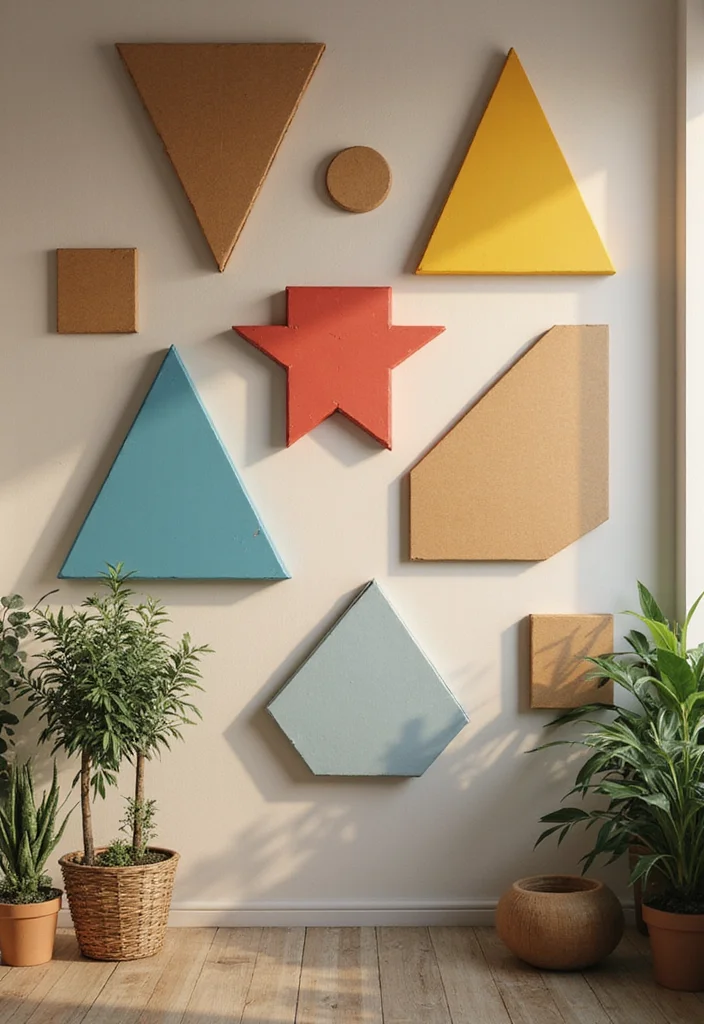
Geometric shapes bring a modern, graphic feel to your walls. Cardboard makes this look easy and affordable. Cut triangles, hexagons, and circles, then mount them in a mural that plays with light and space. Pinterest boards favor this look for a fresh, architectural vibe.
Plan a simple grid, then add a few shapes in bold colors or leave natural for a softer tone. Use a ruler for straight edges and try layering some pieces for subtle depth. Double-sided tape lets you swap pieces as your taste evolves, keeping it flexible. With a clever mix of form and color, this trend becomes an approachable statement piece for any room.
• Use geometric cardboard shapes for a bold mural
• Choose layered pieces to add depth and rhythm
• Attach with double-sided tape for quick, reversible display
• Paint in complementary colors or keep natural for warmth
This simple setup gives you a chic, budget-friendly wall focal point.
2. Nature-inspired Silhouettes
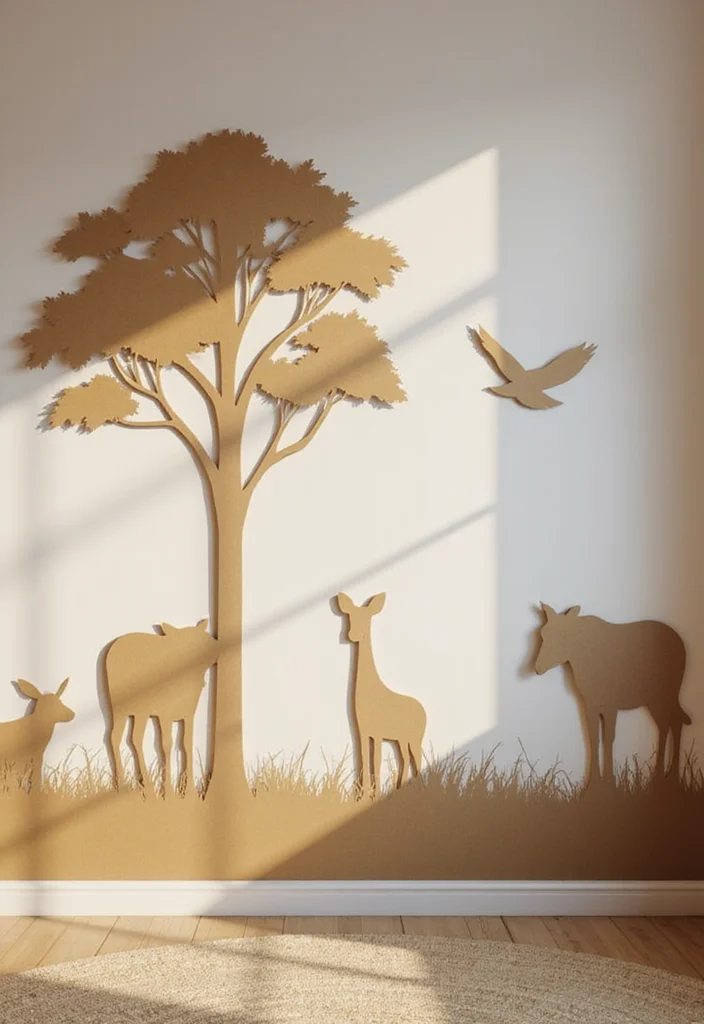
Nature silhouettes bring a calm, organic rhythm to your walls. Cardboard keeps these shapes light and affordable. Cut trees, animals, or mountains in sizes you like, then place them at varying heights for a dynamic display. Design blogs highlight this approach for serene spaces.
Plan a loose arrangement rather than a strict grid. Use stencils for clean edges or freehand for a softer look. Layer some silhouettes to create subtle depth without crowding the room. This style works well in living rooms or bedrooms, inviting you to slow down.
• Use cardboard silhouettes of trees and mountains for natural balance
• Place silhouettes at varying heights for visual engagement
• Layer silhouettes to add subtle depth and dimension
• Paint with soft greens, taupe, or keep natural tones to calm a space
This approach brings nature indoors with quiet confidence.
3. Whimsical Wall Hangings
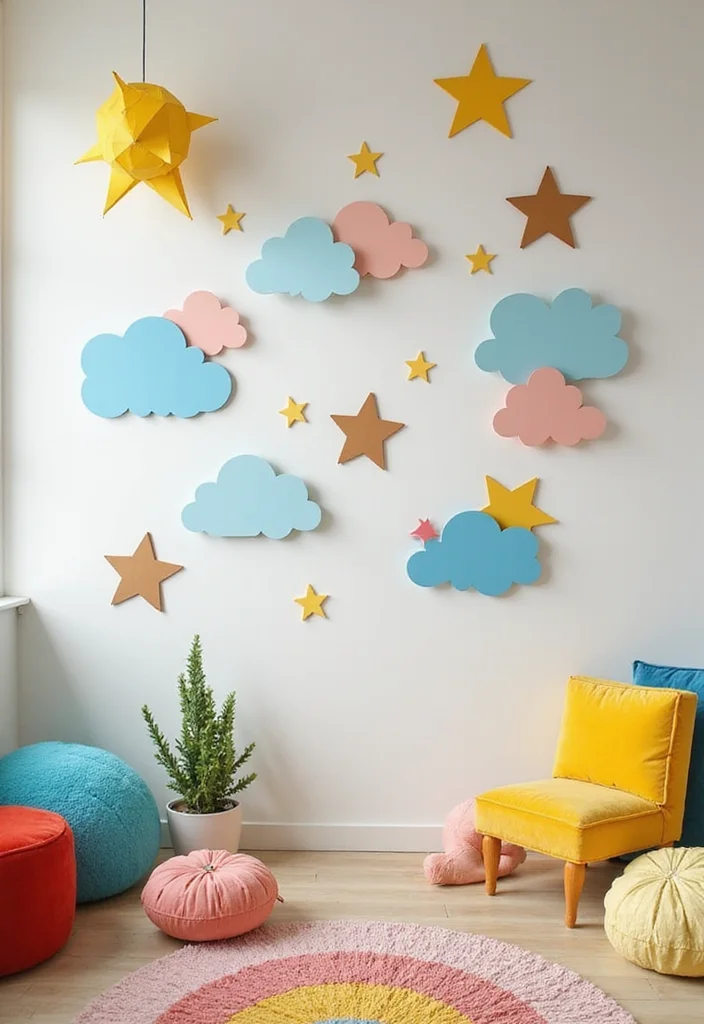
Whimsical pieces add a playful spark to any room. Cardboard keeps these shapes light and easy to move. Cut clouds, stars, or cartoon shapes, then paint in bright colors to pop on your wall. Hang at different heights to create a lively rhythm.
Let strings or clear thread make them hover for a floating feel. Add glitter or metallic paint for extra sparkle, and pair with cushions or rugs that tie the theme together. This style is perfect for kids’ spaces or any area that could use a dash of joy.
• Use bright colors to pop against neutral walls
• Pick lightweight shapes for easy hanging and quick changes
• Add glitter or metallic paint for sparkle and shine
• Place at playful heights to boost whimsy in rooms
Whimsical pieces bring smiles every time you glimpse them.
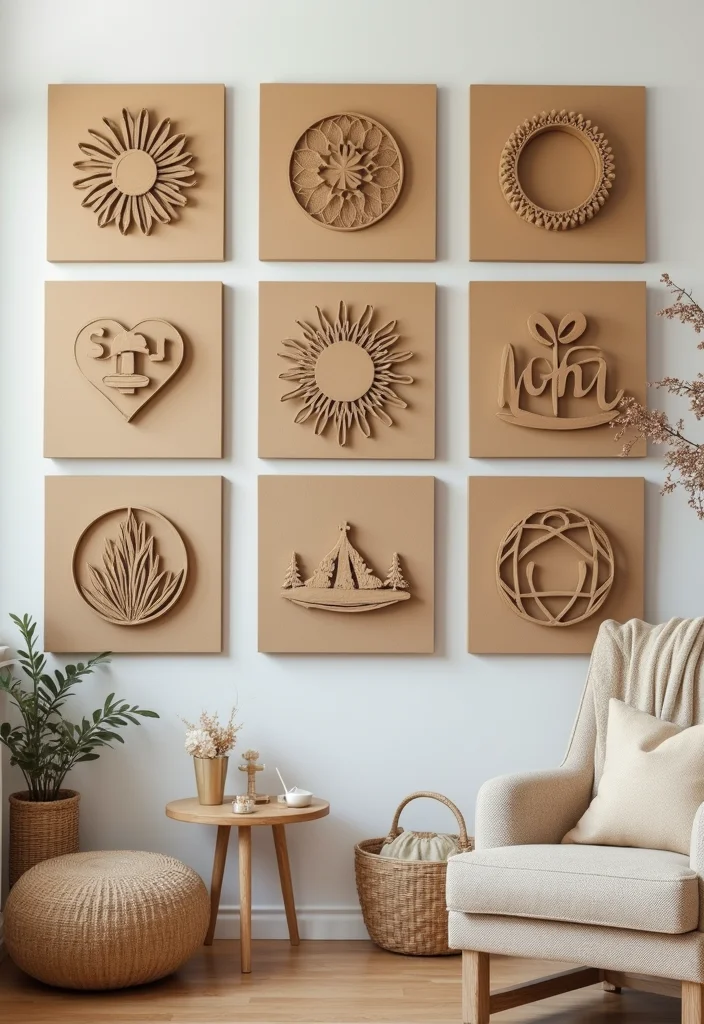
4. Inspirational Quotes
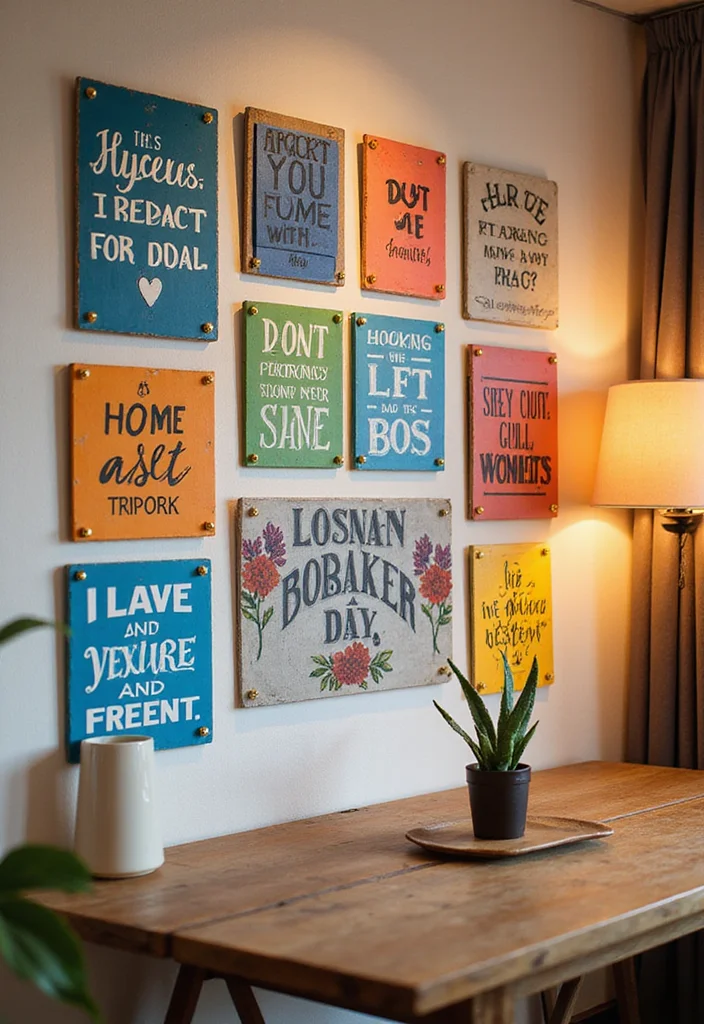
Cardboard isn’t just for shapes; it can carry words that lift your day. Cut out letters and phrases, then paint them in a color that contrasts with your wall. Arrange quotes in a circle or heart to add a warm, personal touch. This approach nudges a positive vibe each time you pass by.
Cut with a sharp knife for clean edges and pick quotes that truly matter. Add small flowers or stars around the text to frame it without crowding. Paint the letters in a contrasting hue so they read clearly from across the room. This wall art keeps motivation close at hand.
• Use cardboard quotes in high-contrast colors for visibility
• Arrange in a circular or heart shape for balance
• Cut with precision using a sharp craft knife
• Add decorative touches like flowers or stars around the text
This fun piece keeps your space feeling inspired and personal.
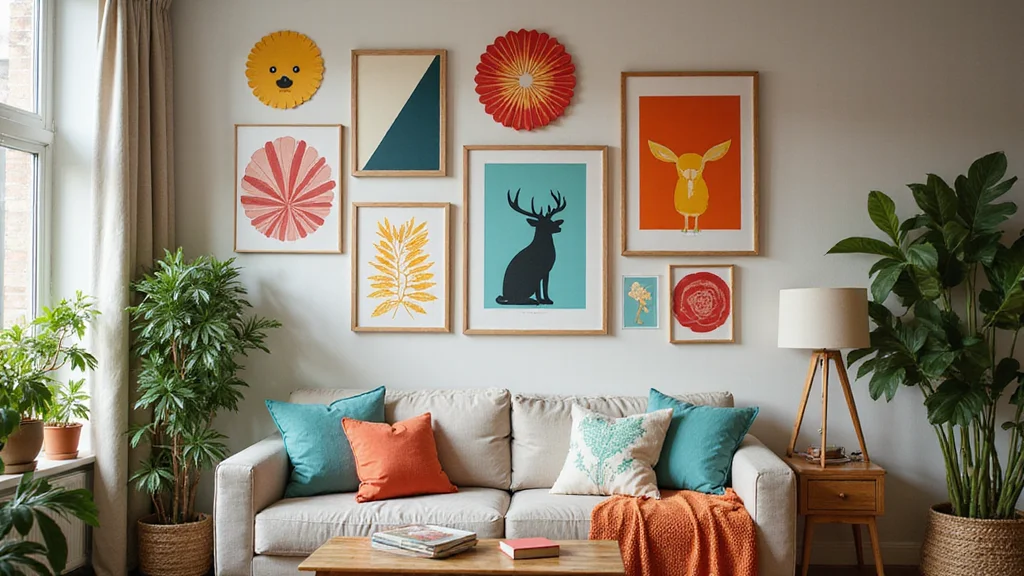
5. Cardboard Frames
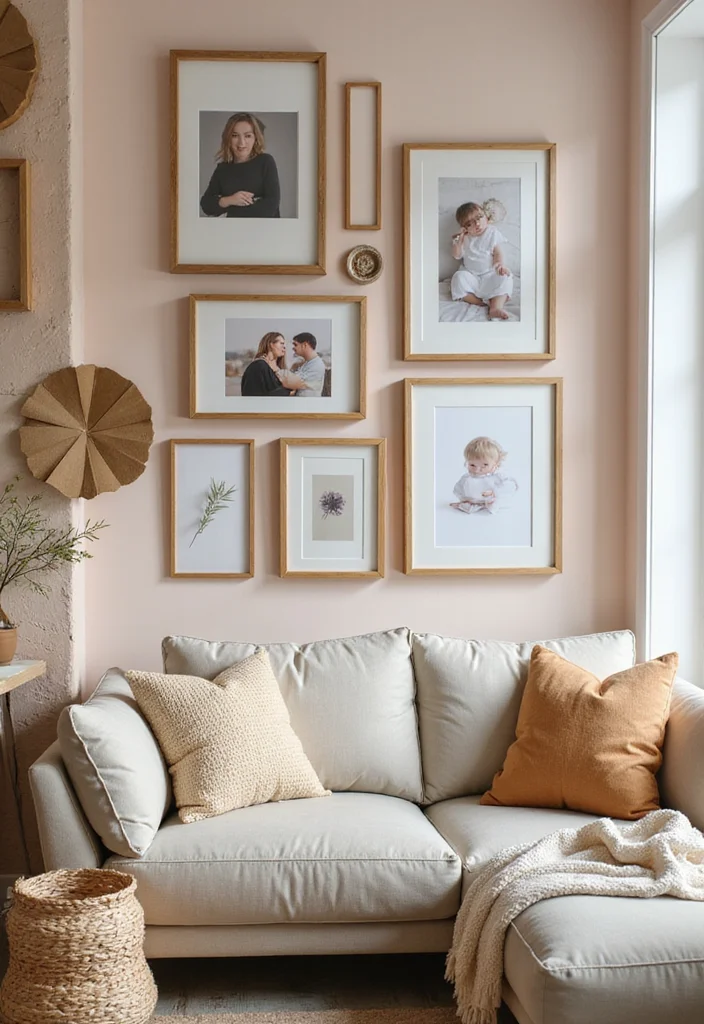
Why not give photos a fresh boundary with handmade cardboard frames? You can tailor sizes and shapes to fit your wall while adding color and texture. A gallery wall with varied frames feels curated and warm.
Use hot glue for strong adhesion and decorate with natural elements like twigs or leaves. Finish with a light varnish to keep edges protected and enhance shine. This approach knots your photos into the room’s mood without expensive framing.
• Use hot glue for solid, quick assembly on cardboard
• Choose natural accents like twigs or leaves to add texture
• Place on walls with a mix of frame sizes for variety
• Add a layer of varnish for a polished finish
A gallery of cardboard frames gives photos a high-end look on a modest budget.
6. Multi-layered Art
Depth comes alive with multi-layered cardboard art. Use pieces of varying thickness to craft landscapes or abstract forms, painting each layer a different color for a vibrant 3D effect. This technique suits beginners and needs only simple tools.
Start with a base layer, then stack other pieces to build height. Secure each piece with a strong adhesive. Paint subtle shadows to enhance depth and make the layers pop. This form invites personal expression and becomes a standout piece on your wall.
• Start with base and add layers gradually for dimension
• Use strong adhesive to hold thick pieces securely
• Paint shadows for depth and definition
• Mix warm and cool tones for contrast in the composition
This method crafts a striking, personal wall sculpture.
7. Seasonal Decor
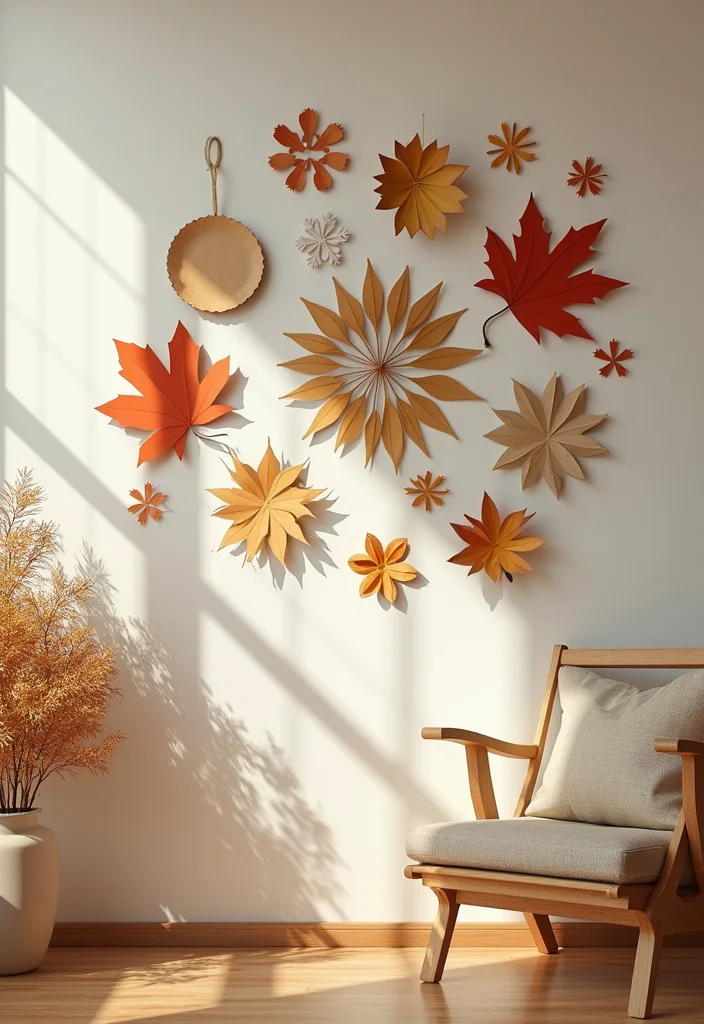
Seasonal changes feel easy with cardboard accents. Create autumn leaves, winter snowflakes, spring flowers, or summer suns. These can be cut in various sizes and painted to fit the seasonal palette, giving you a yearly refresh without much work.
Use vibrant colors for spring and summer, and warmer tones for fall and winter. Weave these pieces into wreaths or garlands, and store them flat to reuse every year. Seasonal decor keeps your home lively and ready for celebrations without buying new art.
• Use seasonal colors to reflect mood throughout the home
• Place on wreaths or garlands for cohesion and style
• Store flat to reuse year after year easily
• Pair with textiles for a complete, seasonal look
Seasonal pieces brighten the mood without a big cost.
8. Art with Texture
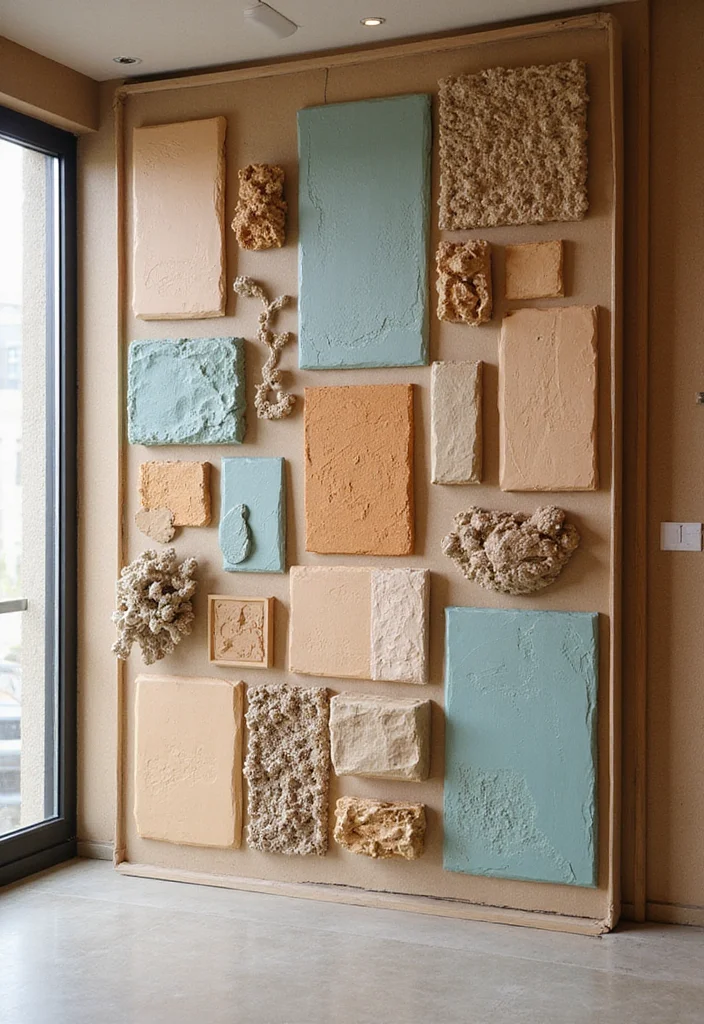
Texture adds depth that catches the eye. Cut cardboard into different shapes and stack them to create waves, ripples, or feather-like surfaces. You can paint textures in monochrome or vivid colors to suit your room.
Sand the base lightly for a smoother finish before paint. Mix paint with sand or fabric for unique effects. Try different layering techniques to find a look you enjoy. Textured art adds a tactile feel that fits stylish spaces.
• Use sandpaper for a smooth base before paint
• Mix paint with sand for gritty texture on surfaces
• Layer shapes for tactile depth and dimension
• Choose monochrome or bold colors for impact in your piece
Texture brings warmth and curiosity to your walls.
9. Collage Creations
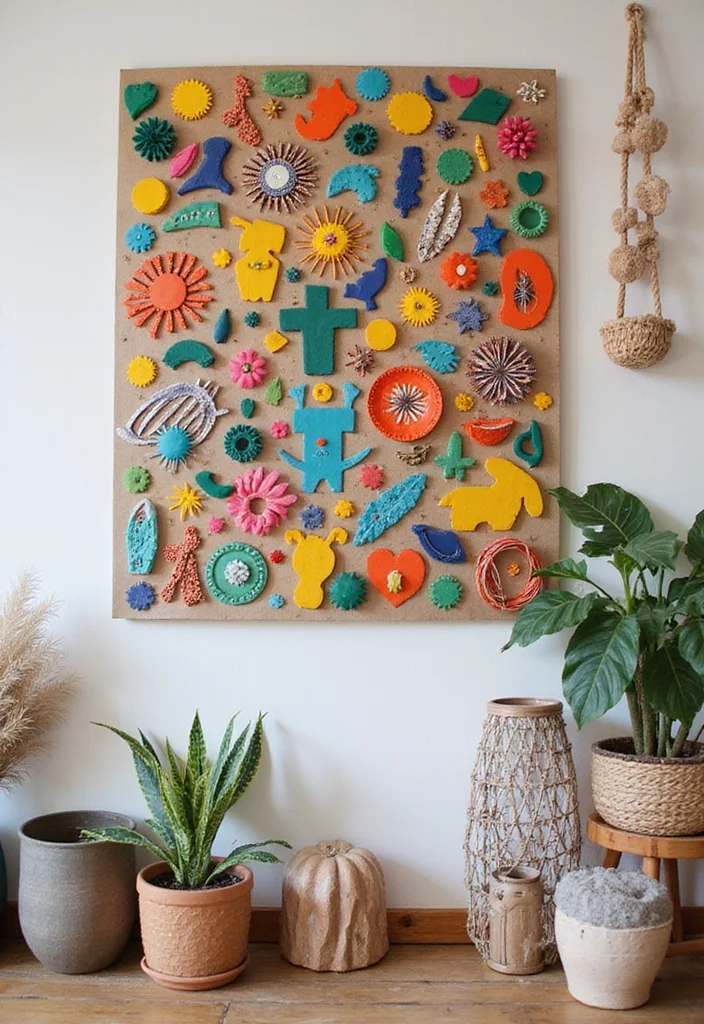
Collage art blends cardboard with paints and embellishments to tell a color story. Combine photos, quotes, or fabric scraps to reveal your interests in a single piece. Collages range from simple to complex and upcycle materials nicely.
Lay out your design before gluing to see how elements complement each other. Mix textures and colors for a dynamic look, and let each layer dry before adding more. A well-planned collage becomes a conversation starter and a true reflection of you.
• Lay out design before gluing for a clear vision
• Mix textures and colors for a dynamic look
• Add photos or fabrics to personalize the piece
• Let layers dry fully before continuing
Your collage celebrates your story in color and form.
10. Cardboard Flowers
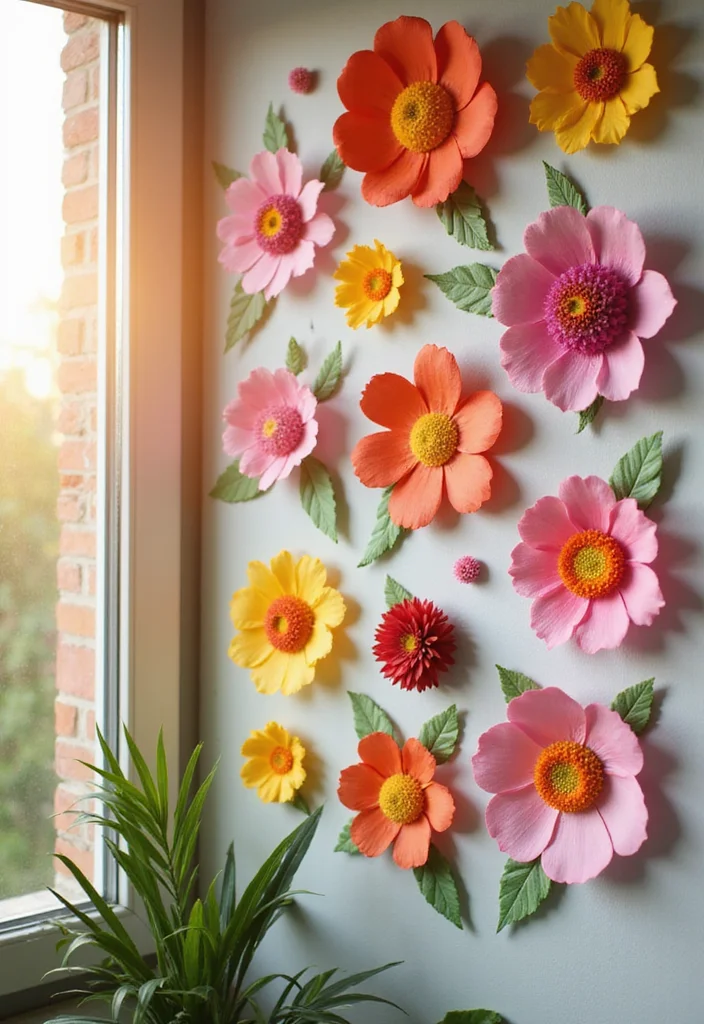
Cardboard flowers bring a soft, natural touch indoors. Layer petals from several sheets to mimic real blooms, then arrange them as a bouquet or as a single statement piece. They work solo or with a larger art piece.
Paint petals with gentle tones or bright accents, and mount on a cardboard stem for a 3D effect. Add leaves for a complete look and keep the bouquet in a sunny corner for best bloom. Cardboard blooms stay cheery year-round without requiring garden care.
• Use layered petals for lush, dimensional blooms on cardboard
• Paint with soft tones for delicate realism on petals
• Mount on stems to create bouquet displays
• Group multiple blooms for a bold wall centerpiece
These blooms brighten any room and last year after year.
11. Lighted Art
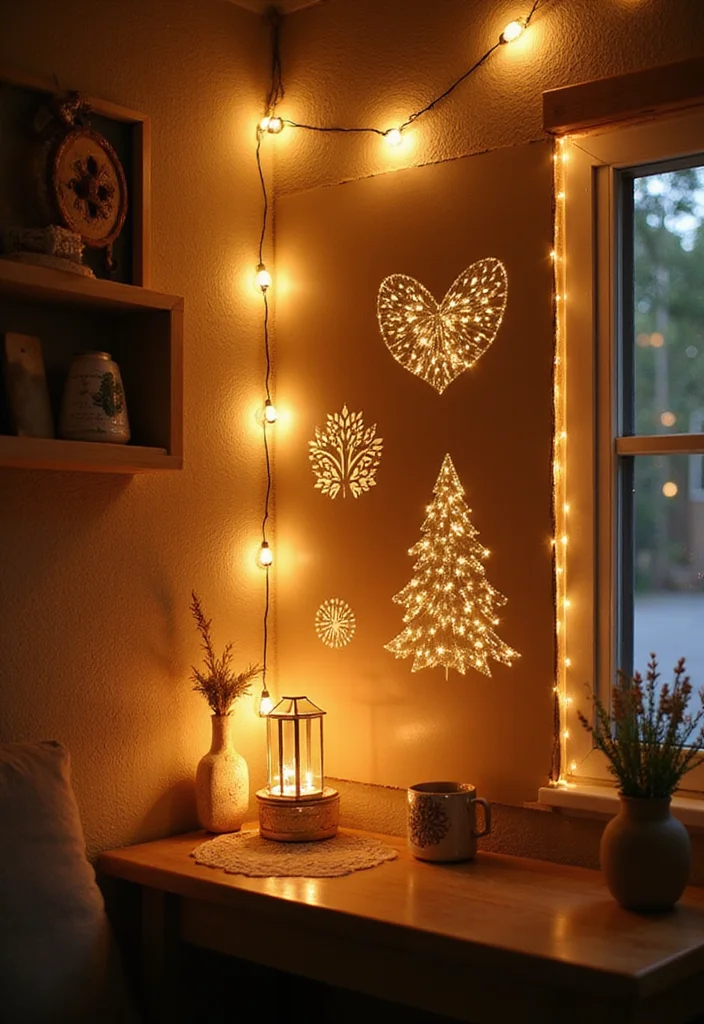
Lighting adds warmth to cardboard art. Create cut-outs that let light peek through, or wrap fairy lights around the shapes for a soft glow. This method makes artwork feel cozy and inviting after dark.
Use LED strips for safe, low heat light. Place lights behind shapes to cast gentle shadows on the wall. Keep the piece light so fixtures stay safe, and try a timer to switch moods. Lighted art becomes a subtle focal point that glows softly.
• Use LED strips for safe, low heat light
• Place lights behind for soft shadows on wall
• Pair with lightweight cardboard for comfort and safety
• Add a dimmer to adjust mood instantly
A warm glow makes simple art feel magical.
12. Cardboard Mirrors
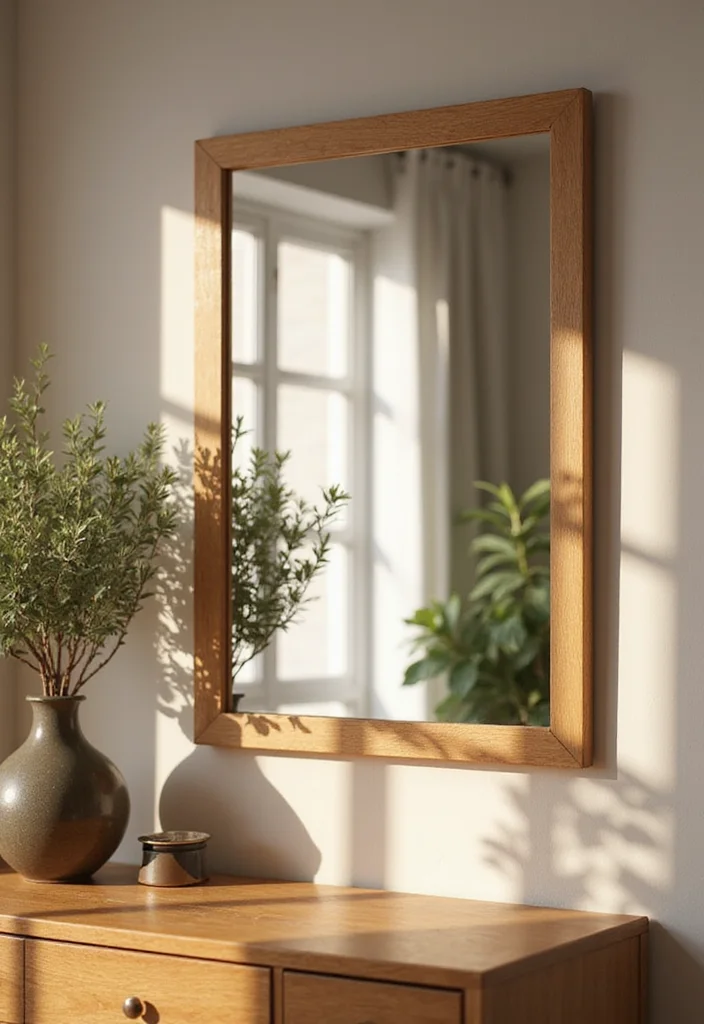
Frame a plain mirror with a cardboard design for a fresh look. Choose geometric or floral patterns that suit your space. Paint the frame to blend with the room or stand out against the glass. This refreshes the mirror and can make a room feel larger.
Secure the frame well and balance thickness with mirror size for a stable fit. Add decorative touches like beads or leaf motifs to personalize it. A cardboard mirror offers beauty and practicality in one smart piece.
• Use sturdy glue for solid frame joining on the edges
• Choose frame thickness that fits your mirror perfectly
• Decorate with beads or leaf motifs for detail
• Paint to match or contrast with the glass
Frame a plain mirror for an affordable, stylish upgrade.
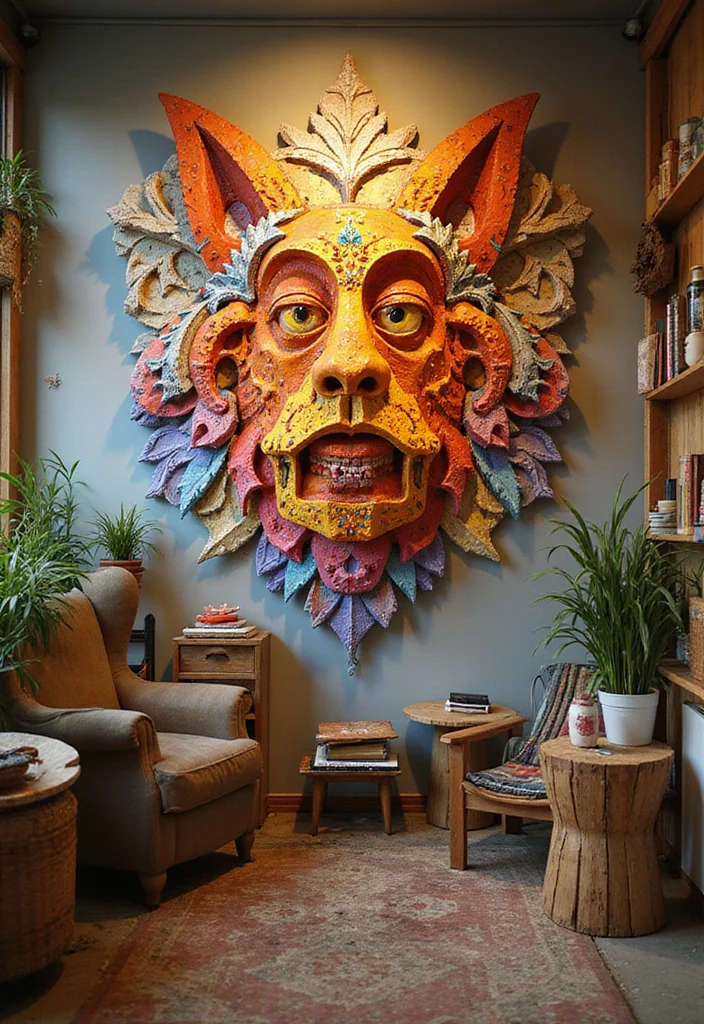
13. Cardboard Animals
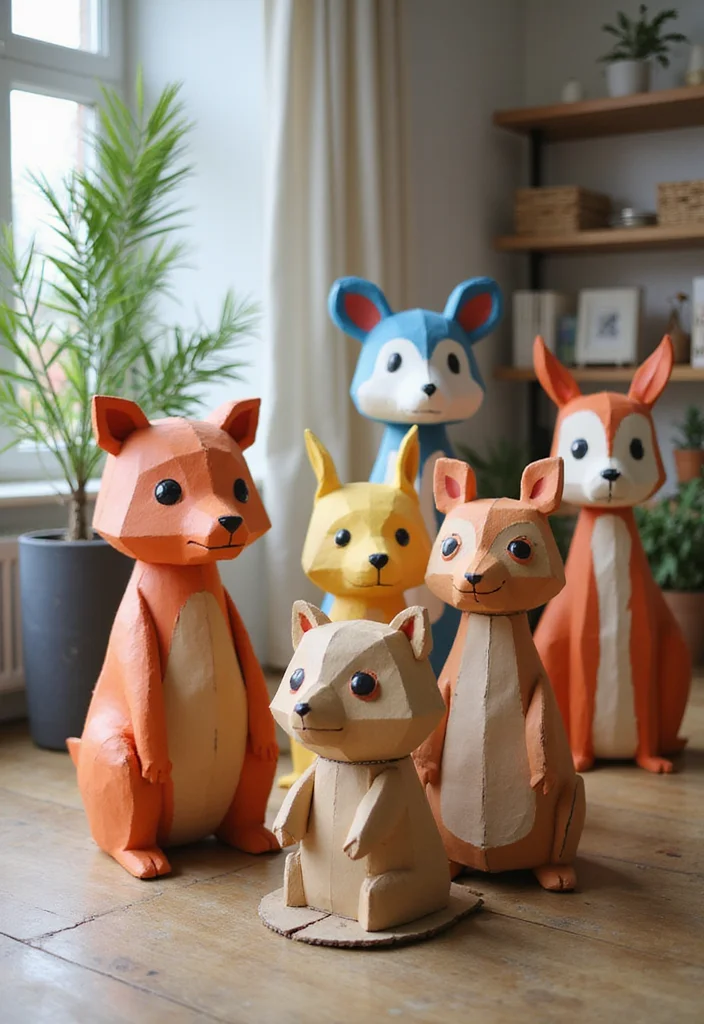
For animal lovers, cardboard art can come to life with adorable animal designs. Create your favorite creatures from cardboard, cutting and assembling them into three-dimensional forms. These can be wall-mounted or used as standalone pieces on shelves or tables.
Paint them in realistic colors, or go whimsical with bright hues and patterns.
Tips for Crafting Animals:
– Use reference images for accuracy.
– Consider the size and scale to match your space.
– Add details like eyes or patterns for realism.
Cardboard animals add a playful touch to your decor, making it more lively and fun.
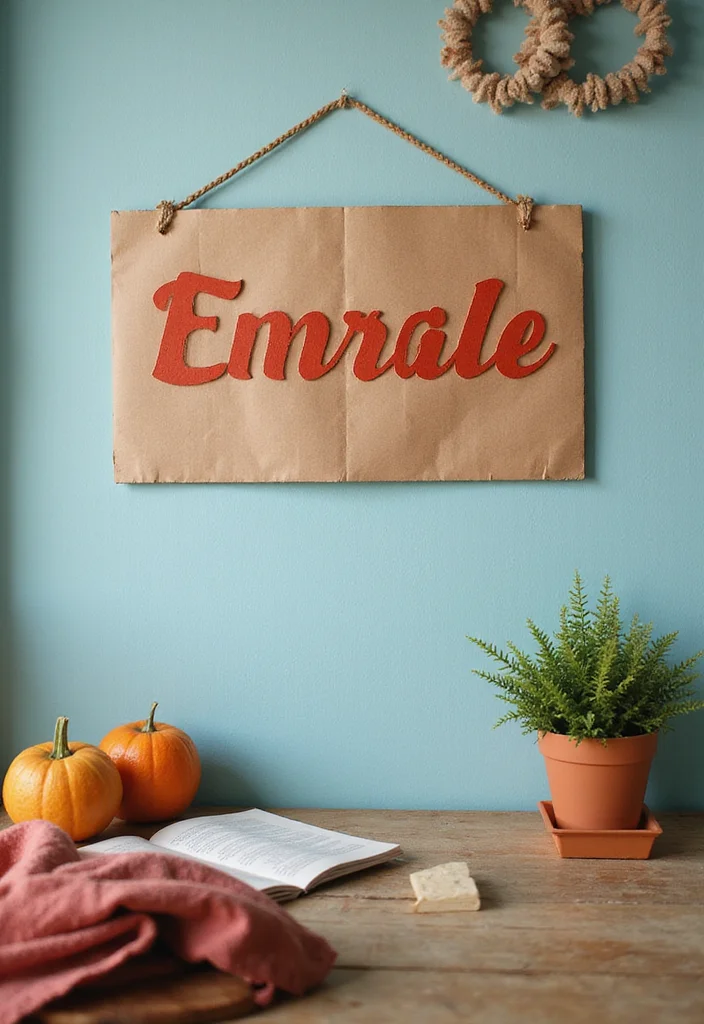
14. Personalized Name Signs
Cardboard animals bring charm to shelves and walls. Cut shapes and assemble them into three-dimensional figures that can sit or hang. Paint in realistic tones or go bold with bright colors for a playful vibe. Size them to fit your space.
Use simple references to capture form, and match size to the wall and furniture. Add details like eyes or patterns for character. Finish with a protective coat to keep colors bright. Cardboard animals add a lively touch that kids and grown-ups will enjoy.
• Use references for accurate shapes and stance in art pieces
• Pick sizes that fit your space and furniture
• Add eyes and details for personality
• Seal with varnish to extend life of the piece
These playful figures invite smiles and curiosity.
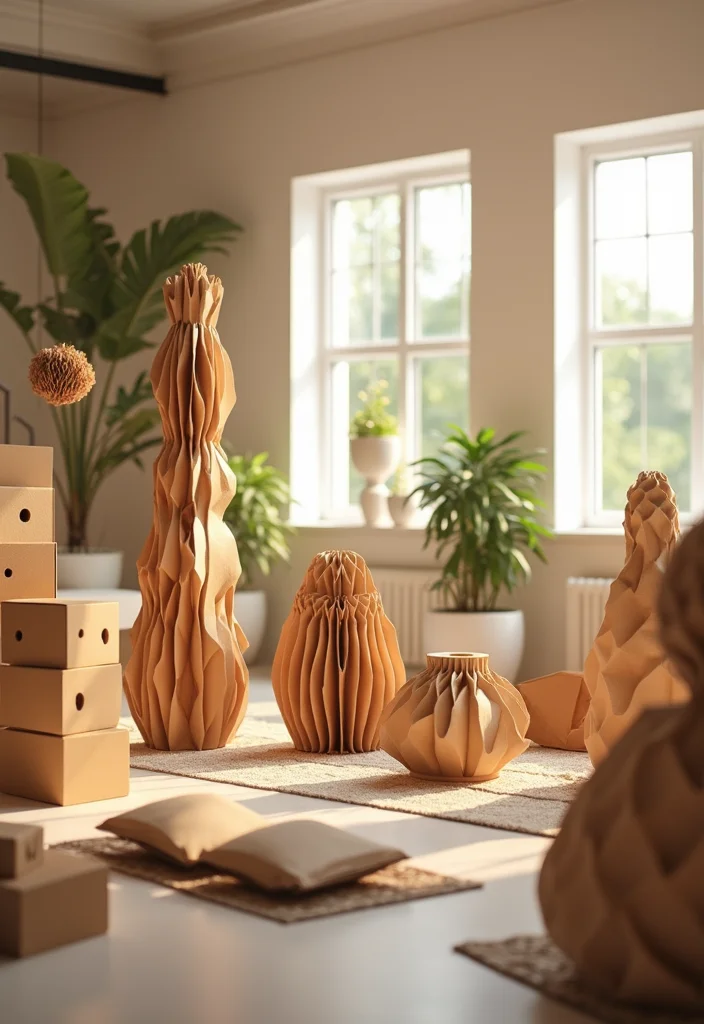
15. Cardboard Collapsible Art
Name signs warm a space with a personal touch. Cut letters from cardboard and decorate them with paint, glitter, or fabric for texture. Hang in bedrooms, playrooms, or entries to greet visitors.
Try adding a background shape like a star or heart, and use twine or string for a casual look. Pick colors that echo the room’s palette. Personal signs feel welcoming and unique.
• Use bold colors to grab attention on signs
• Hang with twine for casual display
• Pair with a background shape for emphasis
• Personalize with colors that fit the room design
Personalized name signs make spaces feel truly yours.
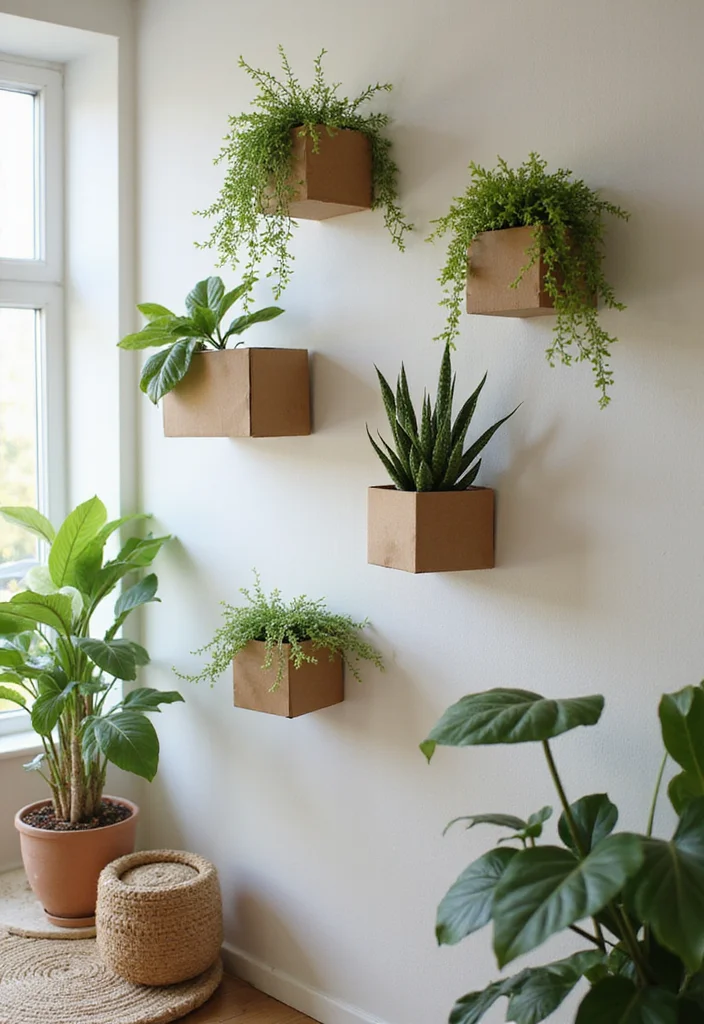
16. Wall-mounted Planters
Collapsible cardboard art stores flat and folds away neatly. Create pop-up flowers or themed shapes that can set up quickly for events. Use lightweight material and sturdy hinges for longevity.
Interlock pieces for stability and paint before assembly to save time. Choose seasonal themes so you can rotate displays. Lightweight hinges keep the art easy to move and durable.
• Create interlocking parts for sturdy builds on wall
• Paint before assembly to speed setup
• Pick season themes for quick rotation
• Use lightweight hinges for long life
Collapsible art makes decor flexible and easy to store.
17. Interactive Wall Art
Wall planters bring life to any wall. Cut and fold cardboard to form small pots for succulents or herbs. Paint or decorate with natural textures to blend with greenery. This project gives room life while keeping plants close at hand.
Make drainage holes and plan for vertical layouts to maximize space. Use strong adhesive to secure pots to the wall. Choose water-friendly finishes to resist moisture. Small plants thrive with easy maintenance and add freshness to your space.
• Use sturdy glue or screws to mount
• Arrange in a vertical row for garden-like effect
• Paint with water-safe finishes to resist moisture
• Pick compact plants that thrive indoors
A living wall blends art and nature in one neat package.
Conclusion
Creating beautiful cardboard wall art is a rewarding experience that adds a personal touch to your home decor. With these 17 ideas, you can explore various styles and techniques while embracing sustainability through recycling.
Don’t hesitate to mix and match ideas, allowing your creativity to shine through each piece. Let your home tell your story with handmade decorations that reflect your personality and style!
Frequently Asked Questions
What Are Some Creative Ideas for Cardboard DIY Room Decor?
If you’re looking to spruce up your space without breaking the bank, cardboard DIY room decor is a fantastic option! Think of creating geometric wall art, decorative photo frames, or even cardboard sculptures that reflect your personal style. You can also experiment with vibrant paints and textures to give your projects a unique flair.
Check out the article for 17 inspiring images that will ignite your creativity!
How Can I Make Eco-Friendly Home Decor Using Cardboard?
Making eco-friendly home decor with cardboard is both fulfilling and sustainable! Start by collecting old cardboard boxes to repurpose. You can cut, fold, and glue them into stunning wall art pieces, planters, or even furniture. Don’t forget to use non-toxic paints and finishes to keep your projects green.
This approach not only reduces waste but also adds a personal touch to your home!
What Tools Do I Need for Cardboard Crafts?
To dive into cardboard crafts, gather a few essential tools! A sharp utility knife, scissors, a cutting mat, and strong adhesive like hot glue or craft glue will be your best friends. You might also want to have a ruler and a pencil for precise measurements, and some paints or decorative materials to bring your designs to life.
Get ready to unleash your creativity!
Are There Any Tips for Beginners in DIY Home Projects?
Absolutely! If you’re new to DIY home projects, start with simple designs and gradually increase the complexity as you gain confidence. Always plan your project by sketching it out first. Take your time, and don’t rush the process—enjoy each step! Also, remember to keep your workspace tidy and organized for maximum efficiency.
Most importantly, have fun and let your creativity flow!
How Can Handmade Decorations Enhance My Living Space?
Handmade decorations, like those from cardboard DIY projects, can truly transform your living space! They add a personal touch that store-bought items often lack, making your home feel unique and inviting. Plus, creating your own decor can be a fulfilling way to express your personality and creativity.
As you incorporate these pieces, you’ll see how they can create a warm atmosphere that reflects your style and values!